2 Hour Artisan Bread
Do you bake bread? As much as I love to bake and cook, baking bread took me a while to get the courage to make. Why I don’t know. And once I made this bread, the floodgates opened and I make bread, of all kinds, all the time now.
Homemade bread is healthier as it doesn’t have the preservatives that commercial breads do and it saves you money making this bread yourself vs buying an artisan style loaf at the store.
If you are new to bread making, this is a great intro bread to start you off. It’s delicious! And quick! And there is no kneading required, just easy shaping (what this means is in the directions). You’ll be a artisan bread maker in no time!
There are many artisan bread recipes on the internet. They are all about the same so I picked this one https://www.jennycancook.com/recipes/2-hour-fastest-no-knead-bread/ from Jenny Can Cook as my foray into bread making a few years ago. I change up the recipe a bit – my version is below.
As always, when you make this recipe, I would love to see your creation so please post a photo of your 2 Hour Artisan Bread goodness and tag my IG account #RenataCollective or leave a comment with your thoughts!
Prep Time: 10 minutes / Rest Time: 90 minutes / Bake Time: 40 minutes / Makes: 1 Delicious Loaf
Ingredients
2 Cups Unbleached White All-Purpose Flour + 2 Tablespoons extra for shaping
1 Cup Whole Wheat Flour
2 teaspoons Quick-RISE Instant Yeast
1 teaspoon Sea Salt
1½ Cups Hot Water – no hotter than 120° F
How It’s Made
Before you start, you want to aerate your flour which means stirring it to make it fluffy and not packed down, which flour tends to do when sitting. Give your white and whole wheat flours a good stir!
In a large bowl, whisk together the aerated, measured flours, the yeast and the salt. In the photos I am using a bread whisk but any whisk will do, even a fork will work well.
Heat the water in a small pot on the stove or in the microwave in a microwave safe bowl. Take the temperature with a food thermometer. If the water temperature is too hot, it will kill the yeast and your bread won’t rise. It should be no hotter than 120° F.
Stir in the water and whisk until you have a wet, shaggy dough with no streaks of dry flour showing.
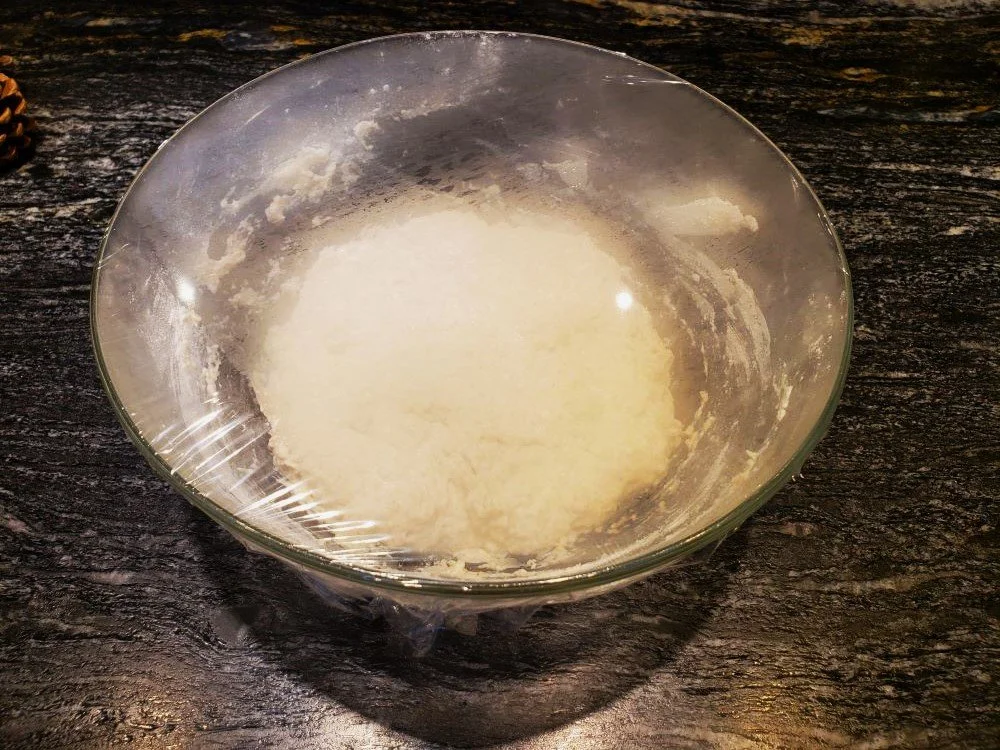
Cover the bowl tightly with cling wrap. Set the bowl aside on your counter for 1 hour.
After 40 minutes, place your Dutch oven with lid on, into your cold oven. Turn on the oven to 450° F, to
preheat with the Dutch oven inside, You want the Dutch oven to be very hot when you place the dough in it, in a few steps.
Line a medium sized bowl with a generous piece of parchment paper. You will be placing the dough into this and the parchment will go into the hot Dutch oven with the dough.
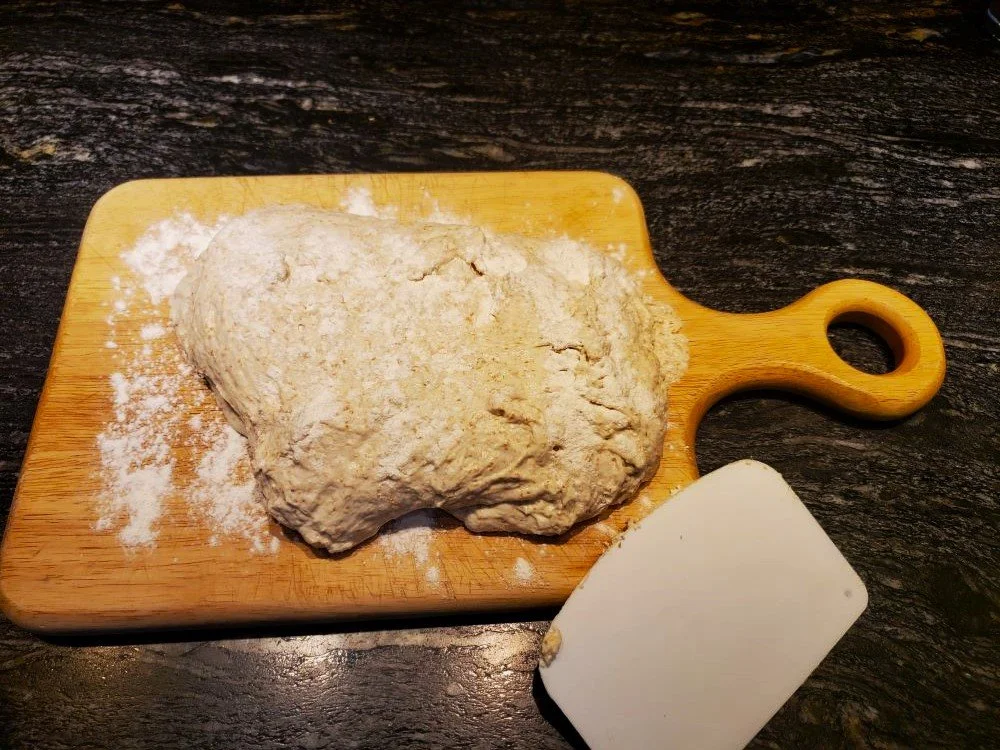
After the dough has been on the counter rising in the covered bowl for 1 hour, remove the cling wrap and sprinkle the 2 tablespoons of flour onto your counter or large cutting board. Scrap the dough out of the bowl and onto the floured surface.
Using a scraper, or your hands, fold the dough over itself from the top or side to the middle, on all 4 sides, about 10-12 times. You should have the beginnings of a rough looking ball.
Place the dough ball in the parchment lined bowl and this time cover it with a kitchen tea-towel. Let it rest on the counter like this for 15 minutes.
After 15 minutes, carefully, using oven mitts, open the oven door, pull out the HOT Dutch oven, remove the lid. Lift the parchment paper with the dough ball and place it into the hot Dutch oven (Parchment paper and dough ball both).
Replace the cover to the Dutch oven and bake for 30 minutes.
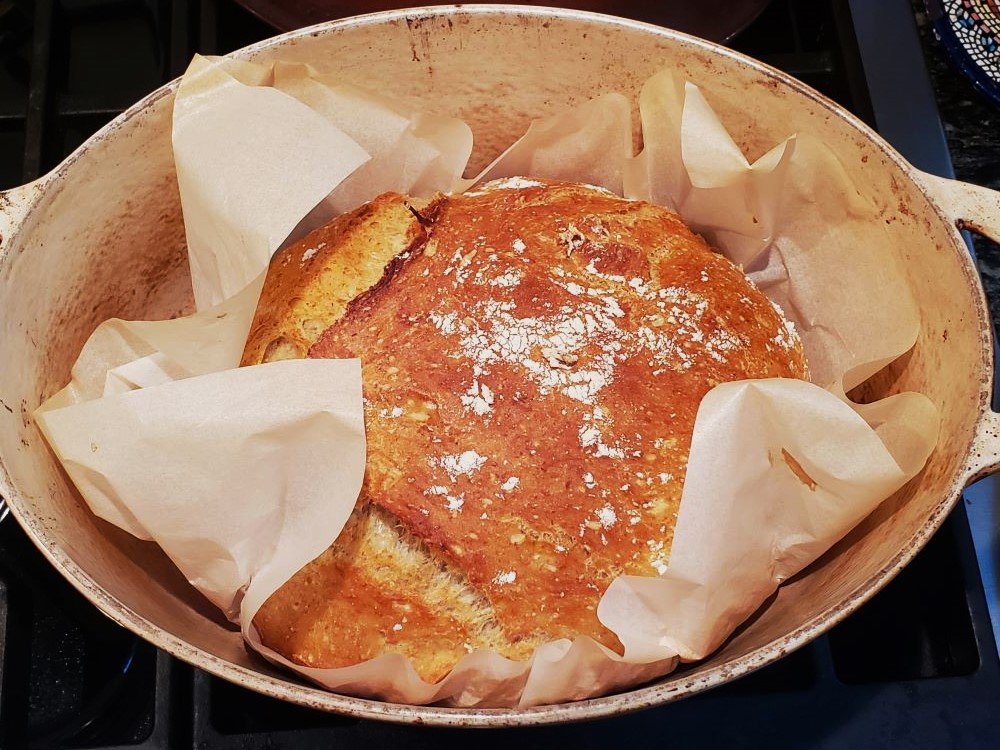
After 30 minutes, carefully, using oven mitts, remove the lid and you will see a pale, gorgeous loaf of artisan bread!
Continue to bake the bread, uncovered for 10 minutes to brown the loaf.
Remove the Dutch oven from the oven and carefully, using the parchment paper as ‘handles’, remove the bread to a wire cooling rack. Let it rest for 15 minutes or so to let the bread firm up before slicing.
Serve warm, or cold, or toasted – anyway you wish – it is so delicious!
Enjoy!
Variations
Add 2 tablespoons of hemp hearts to the dry ingredients.
Add 3e tablespoons of nuts or seeds to the dry ingredients.
Add 2/3 cup grated cheddar to the dry ingredients for a cheese bread version.
Add 1/3 cup well drained sliced black olives, 1 teaspoon ground rosemary, ¼ cup grated parmesan and generous grinds of fresh black pepper to the dry ingredients for a Mediterranean flavoured savory bread.


The middle slice looks like a white bread compared to the other slices but it’s all the same loaf and in real life they all look the same - it’s just the light hitting that slice differently